Airbender
Agentic Performance Management for Production AI
Getting Started with Airbender
The simplest way to add governance to your AI Project is to use our Hosted Airbender Dashboard.
What you need for this guide:
- An AI Project that uses Vercel’s AI toolkit
- See our roadmap to see what’s supported
- An account at app.airbender.io
- An API Key for the Provider(s) you are implementing
If you don’t have an AI Project we can get you starting using our Airbender Client Demo
If you have an AI Project, Keep reading:
For this Getting Started examples will showcase Generate Text using OpenAI.
Step 1 - Create an Airbender account
Create an account in the Airbender Dashboard
Step 2 - Create a Product in Airbender
In the Airbender dashboard, click New Project. This Product will store your AI system configuration and later you will log events to this Product.
Step 3 - Install the Airbender client package and dependencies
Install the Airbender Client in your code and at least one AI Provider you plan to use: (Using npm) Full list
npm i @airbend3r/client
npm i @airbend3r/openai
Step 4 - Set up Airbender in your code
Import the Airbender Setup, the type of AI Request, and the init function for each Provider.
Currently Airbender supports the following AI SDK’s:
Generate Text - airbenderGenerateText
import { setupAirbender, airbenderGenerateText } from '@airbend3r/client';
import { provider as openAiInit } from '@airbend3r/openai';
Stream Text - airbenderStreamText
import { setupAirbender, airbenderStreamText } from '@airbend3r/client';
import { provider as openAiInit } from '@airbend3r/openai';
Get your product key from Airbender
Back in the Airbender Dashboard, go into the Product you created and copy the Product Key. You will see a string that begins with pk:
Add required environment variables
Add the following to your .env file and update the keys with your own.
AIRBENDER_PRODUCT_KEY = "[Airbender Product Key]"
AIRBENDER_API_BASE_URL = "https://app.airbender.io/api/v1"
For each AI Provider, obtain the correct API Key and add it to the .env
OPENAI_API_KEY = "[OpenAI API Key]"
Create SDK wrappers
const generateTextConfig = airbenderGenerateText({
  productKey: process.env.AIRBENDER_PRODUCT_KEY,
  logInputs: true,
  logOutputs: true,
  shouldValidateBeforeLogging: true,
  providers: { openAiInit },
});
Configure Airbender
You will use this airbender reference later to start a session, make calls to the LLM, and log user feedback.
Put this where it can be easily shared across your project.
export const airbender = setupAirbender({
  sdks: {
    chat: { // The name you will use to implement this SDK. This name can be any valid property name.
      llm: generateTextConfig, // pass the wrapped SDK you created in the previous step
    }
  },
  productKey: process.env.AIRBENDER_PRODUCT_KEY,
  providers: { openAiInit },
});
Step 5 - Start a session
Start an Airbender session. The end user’s IP address is required for threat detection and blocking.
This call will always start a new session. To continue to use an existing session, hold on to the airbenderSession.Id instead of calling airbender.fetchSession again.
The Session will contain the Session ID, Weather the session is blocked, the Configuration, the Active Version, and all Control Points.
// Create a session for this user
const airbenderSession = await airbender.fetchSession({
  productKey: process.env.AIRBENDER_PRODUCT_KEY,
  ipAddress: endUserIpAddress
})

const airbenderSessionId = airbenderSession.id;
// TODO: store the session ID with your user so that you can log events into the same session later
Step 6 - Send your LLM request via Airbender
Get a reference to the chat SDK that you defined earlier:
export const { llm: airbenderChat } = airbender.sdk('chat');
Now you can use your chat SDK reference, which you named airbenderChat, to make requests of the LLM.
Control Points are available by Key from the Airbender Dashboard.
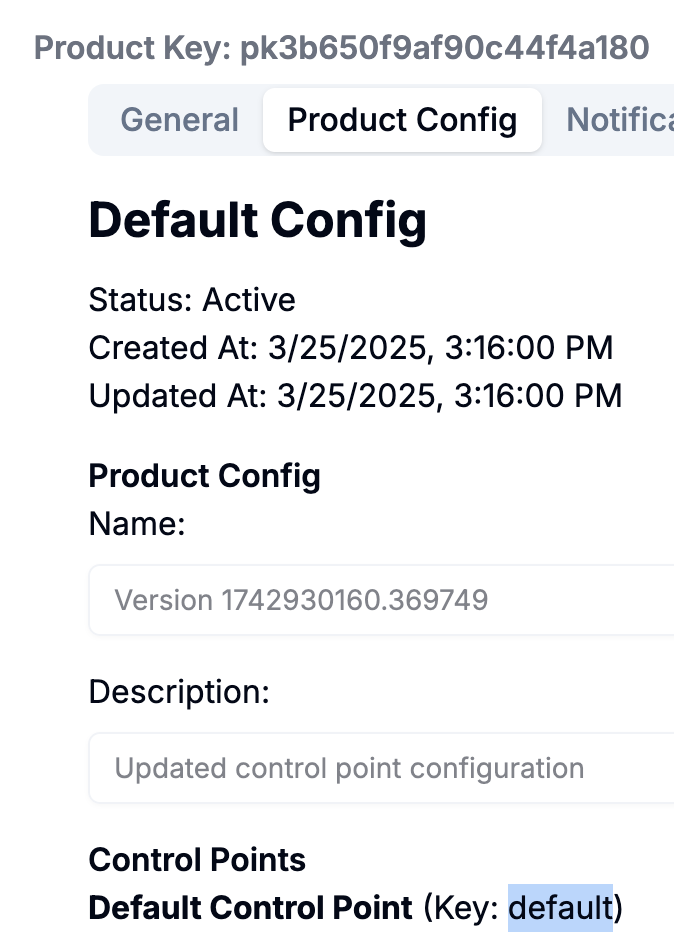
These are returned in the fetchSession call as: airbenderSession.config.control_points[controlPointKey]
Using these allows users of the Airbender Dashboard to govern your Configuration.
const controlPointKey = 'default';

// TODO: userMessage should be your user's input
// the system role should be given the System Prompt from the System Control Point.
const userMessage = "What is the weather in Toronto today?";
const messages = [
  {
    role: 'system',
    content: airbenderSession.config.control_points[controlPointKey].settings.system_prompt,
  },
  {
    role: "user",
    content: userMessage,
  }
];

const { response, logId } = await airbenderChat(
  // the part needed by the original LLM
  {
    model: { // will be created dynamically by the Airbender client if logging succeeds.
      provider: airbenderSession.config.control_points[controlPointKey].settings.provider,
      modelId: airbenderSession.config.control_points[controlPointKey].settings.model
    },
    messages,
  },
  // the part needed by Airbender
  {
    sessionID: airbenderSessionId, // The ID for the session you created earlier
    logName: 'chat-interaction',
  }
);
The response from Airbender is a passback from the Open AI model that was configured. Here is a good place to learn about the request and response.
The ‘logId’ is the needed LogID that Airbender uses to connect Logged responses together and for Feedback.
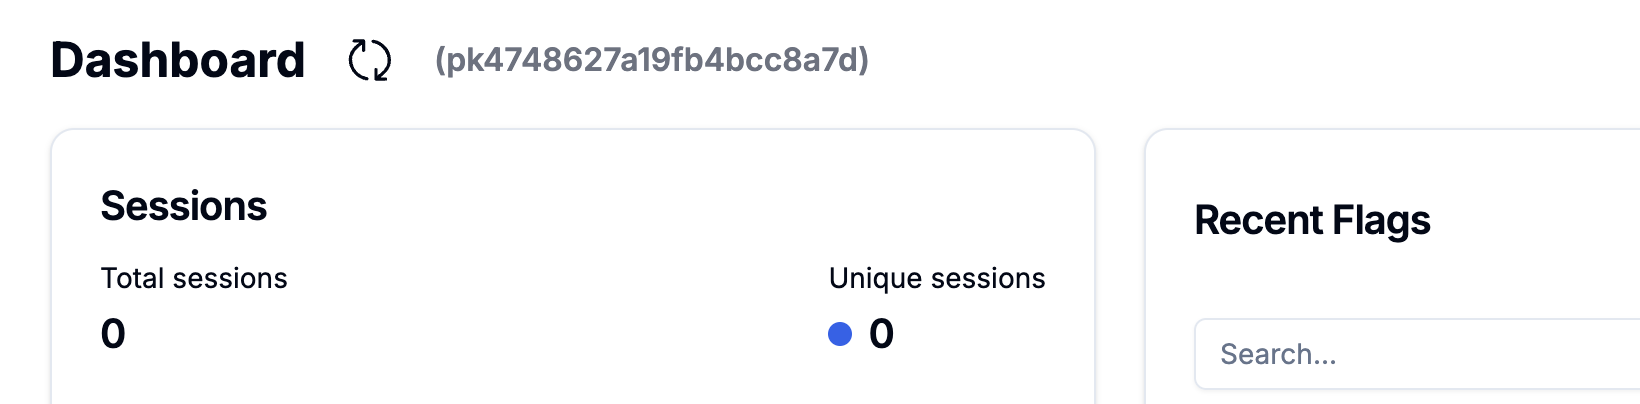
Step 7 - See the session and events in Airbender
Back in your Airbender dashboard you should now see the “Total Sessions” counter increment.
If you click through to the Product’s dashboard, you should see the Session listed in the “All Sessions” section and also on the Sessions page.
Click through the session to explore the event that you logged.